
 Tyres
Tyres Services
 Fast Fit
 Offers
Fitting adhesive balance weights
Article written by Bush Tyres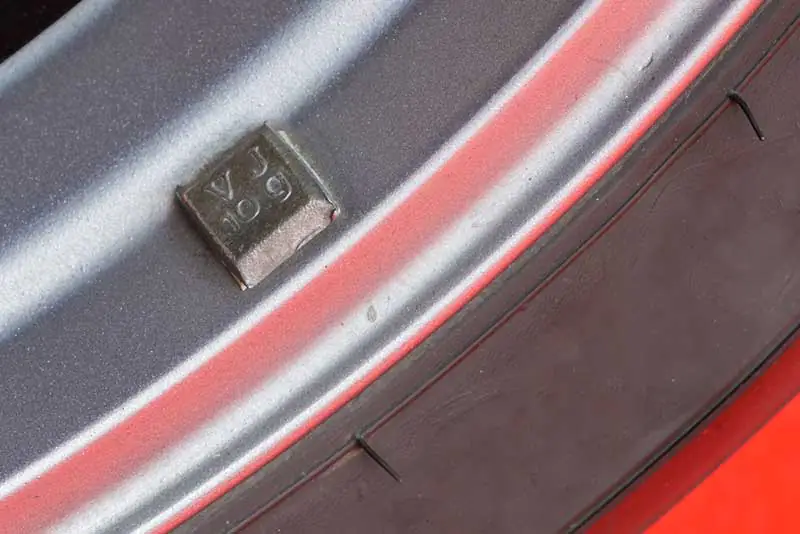
When you have new tyres fitted to your vehicle, they need to be balanced and this is often done using small balance weights fitted to the inside of the wheel.
Your wheel will need to be balanced following a tyre fitting and this is done with a special machine called a balancer that will tell you where the weights need to go in order to correct the balance of a wheel. If you need your wheels balanced by a professional, speak to the Bush Tyres team who can do this quickly and conveniently.
If, for whatever reason, you need to adjust the balance yourself, there’s a few things you need to know about hammer-on and self-adhesive balance weights.
Hammer-on vs self-adhesive
Hammer-on balance weights are, quite literally, weights you hammer into place whereas adhesive weights just stick to the wheel.
These are applied to the wheel in two very different ways and which one you choose depends on your wheels. Hammer-on weights slot between the rim and the tyre and are banged into place with a special hammer. These should only be considered if they’ve been used as standard by your car or wheel manufacturer.
Self-adhesive balance weights simply stick onto the wheel rim, making them much easier to apply.
Which is best
While the hammer-on weights might be cheaper, they could damage your wheels. Some hammer-on weights might leave marks when removed and could cause corrosion too.
Self-adhesive weights tend to be a little more expensive but they are easy to apply and remove and most won’t damage your wheel. However, you have to prep your wheel properly first otherwise you might find the weights just fall off.
Preparing your wheels for stick-on weights
In order to make the weights stick properly, you need to thoroughly clean your wheels before application.
With your wheel off the car, make sure to clean it thoroughly with a proper wheel cleaner that will eat through the brake dust. Simply spray on and leave according to the product’s instructions then scrub with a wheel brush. You then need to rinse this off as soon as possible to protect the coating on your wheels.
Depending on how dirty your wheels are, you may need to give the wheel another clean with your normal car shampoo and mitt. Repeat this as necessary to ensure the entire rim, both inside and out, is as clean as possible.
Dry off excess water with a chamois and then allow your wheels to become fully dry before you apply the weight.
Sticking on the weights
When your wheel is dry, you can stick on your adhesive balance weights. These come in a strip so you may need to cut them down to get the right weight for the balance of your car.
You can also split the weights to hide them in the correct places behind the spokes of an alloy wheel. This gives a more professional finish to your wheel balancing work.
When you stick the adhesive weight to your wheel, you need to apply pressure. Take a look at the instructions on the particular brand of weight you are using. Bear in mind that if the weather is cold, you may need to apply pressure for slightly longer to start the adhesion process.
Other tips
It takes around 72 hours for sports car wheel balance weights to reach their full adhesive force. You’re usually safe to drive your car straight away but the first 72 hours is where these weights are most likely to fall off, especially if your wheel wasn’t cleaned properly to begin with.
If you’re applying balance weights yourself, it’s often wise to mark the spot where they need to go with a permanent marker. If the weight does fall off, you know where to stick a new one without having to put your wheel on the balancing machine again.
Balancing a wheel is an important part of fitting new wheels or tyres. If you’re unsure how to do this yourself or don’t have access to a balancer, pop into your local Bush Tyres branch for assistance.
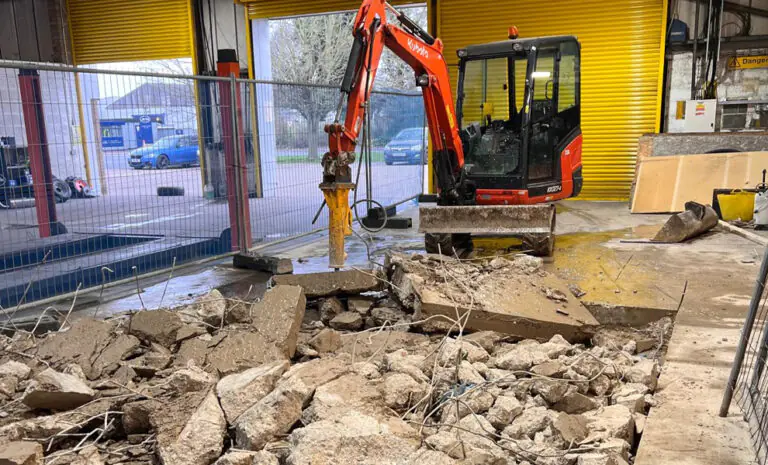
Ground was broken today within our Bush Tyres Beverley depot and for good reason, the work which is planned to be completed by early Spring will see a new MOT Station installed.

The wait for Ascenso’s first radial Earth Mover Tyre to be fitted in the UK is finally over. On Monday 9th February A small team from Toby Clowes was sent to one of Welton Aggregate’s active processing sites on Spa Road in Lincoln.

The Ascenso Excellence Award is a recognition of the hard work and dedication of the Bush Tyres agricultural team.